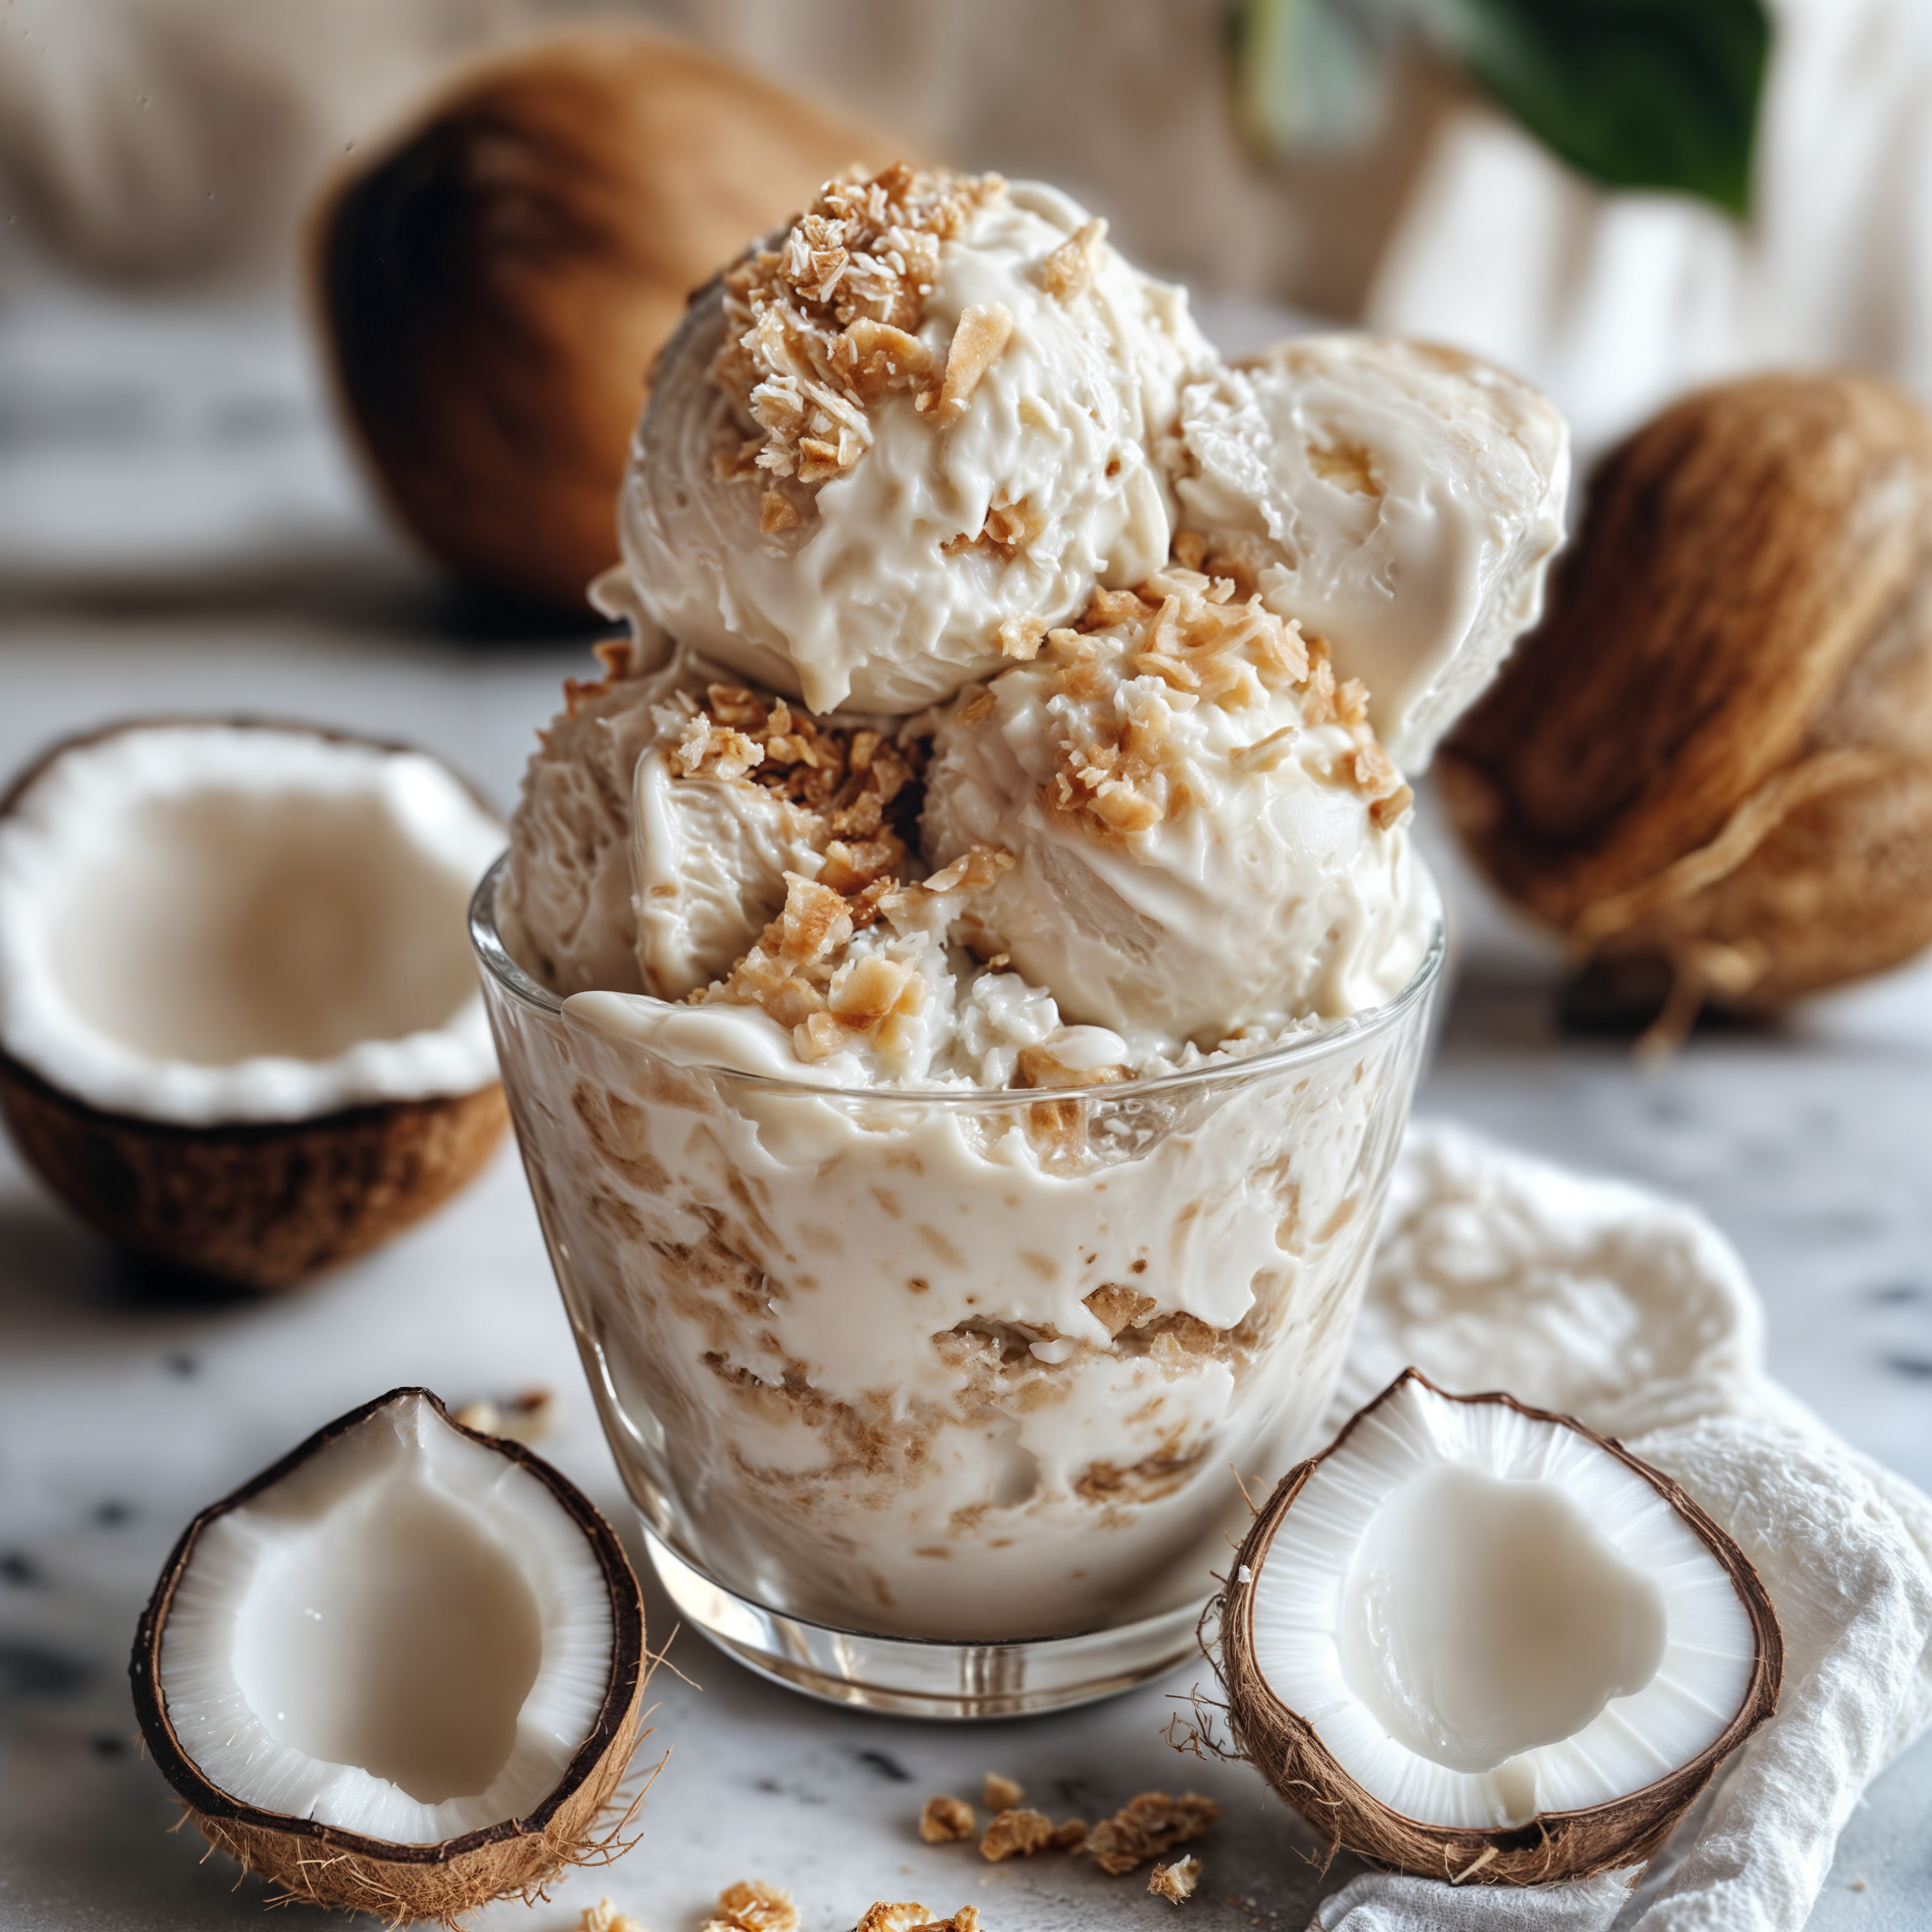
Creamy Coconut Milk Ice Cream (Dairy-Free & Delicious)
If you’re looking for a dairy-free frozen treat that delivers on flavor and texture, this Coconut Milk Ice Cream is about to become your new go-to summer dessert. Made with just a handful of wholesome ingredients, it’s creamy, naturally sweetened, and totally customizable with your favorite mix-ins. Whether you’re vegan, lactose-intolerant, or just love coconut, this recipe is a simple yet luxurious way to satisfy your sweet tooth.
Why You’ll Love This Recipe
This coconut milk ice cream recipe is a dream for anyone who wants a dessert that’s both indulgent and good-for-you. With no eggs, no refined sugars, and absolutely no dairy, it still churns out a soft, creamy texture that rivals any premium pint you’d find in stores. It’s perfect for:
- Vegans and plant-based eaters
- Anyone avoiding dairy
- Those who love coconut’s tropical flavor
- Home cooks who appreciate simple, fuss-free recipes
What’s even better? You can make this recipe with or without an ice cream maker, so it’s totally accessible even if you don’t have fancy equipment.
Ingredients You’ll Need
Here’s what you’ll need to whip up this dreamy coconut milk ice cream:
- 2 cans (13.5 oz each) full-fat coconut milk 🥥
- 1/2 cup pure maple syrup or agave nectar 🍁 (adjust to taste)
- 1 tablespoon vanilla extract 🌼
- Pinch of sea salt 🧂
Optional Mix-ins:
- 1/2 cup toasted coconut flakes 🥥
- 1/4 cup mini chocolate chips 🍫
- 1/2 teaspoon cinnamon or lime zest for a flavor twist
Pro Tip: Use full-fat coconut milk for the best texture. Light coconut milk can result in a more icy final product.
Equipment You’ll Need
- High-speed blender
- Ice cream maker (optional, but preferred for best texture)
- Mixing bowl or container for chilling
- Shallow dish (for no-churn method)
- Food processor (for no-churn method)
- Freezer-safe container with lid
- Spatula
How to Make Coconut Milk Ice Cream
Step 1: Blend the Base
In a blender, combine the coconut milk, maple syrup (or agave), vanilla extract, and a pinch of sea salt. Blend on high for about 30 seconds until the mixture is completely smooth and creamy.
Note: You can taste and adjust the sweetness at this stage. If you prefer a more subtle sweetness, start with 1/3 cup sweetener and add more as needed.
Step 2: Chill the Mixture
Pour the mixture into a container and chill in the refrigerator for 4–6 hours, or overnight. This helps the flavors meld and improves the texture during churning.
Shortcut Tip: If you’re in a rush, place the mixture in the freezer for 1 hour, stirring every 20 minutes, to quickly reduce the temperature.
Step 3: Churn It Up
Pour the chilled mixture into your ice cream maker and churn for 20–30 minutes, or until it reaches a soft-serve consistency.
If you’re adding mix-ins (like toasted coconut flakes or chocolate chips), toss them in during the last 5 minutes of churning so they evenly distribute.
No Ice Cream Maker? No Problem!
If you don’t have an ice cream maker, pour the mixture into a shallow dish and freeze it. Stir every 30–45 minutes for about 3 hours to break up ice crystals.
Once fully frozen, blend in a food processor until smooth and creamy before serving.
Step 4: Freeze to Firm
Transfer the soft-serve ice cream to a freezer-safe container, smooth out the top, and cover tightly. Freeze for an additional 2–4 hours until it’s firm and scoopable.
Tip: Let the container sit at room temperature for 5–10 minutes before scooping for best texture.
Flavor Variations & Creative Add-ins
Here’s where you can have some fun! This recipe is a blank canvas, and it plays well with countless flavor combos:
- Chocolate Swirl: Add 1/4 cup melted dark chocolate as a ribbon while layering into the container.
- Mint Chip: Add 1/2 tsp peppermint extract and 1/3 cup dark chocolate shavings.
- Tropical Vibes: Stir in pineapple chunks and a dash of lime zest for a piña colada twist.
- Spiced Chai: Mix in 1/2 tsp cinnamon, 1/4 tsp cardamom, and a pinch of clove for a warming flavor.
How to Store Leftovers
Store your coconut milk ice cream in an airtight, freezer-safe container. It will keep well for up to 2 weeks.
Before serving again, allow the ice cream to sit out at room temperature for 10–15 minutes to soften slightly. This will make scooping easier and bring out its creamy texture.
Perfect Pairings
Want to level up your dessert game? Try pairing this ice cream with:
- Grilled pineapple slices topped with cinnamon
- Warm brownies or blondies for a decadent sundae
- Espresso or cold brew for a dairy-free affogato
- Coconut rum or spiced rum cocktails for a tropical dessert night
Frequently Asked Questions
Can I use light coconut milk?
Technically, yes, but the texture will be more icy and less creamy. For best results, stick to full-fat coconut milk.
Is this recipe keto-friendly?
Not quite. Maple syrup and agave nectar are high in carbs. For a low-carb version, try using a keto-friendly sweetener like monk fruit or erythritol.
Can I make this nut-free?
Absolutely! The base is already nut-free. Just be mindful of your mix-ins and use allergy-safe chocolate if needed.
What if I don’t have vanilla extract?
You can substitute with 1/2 tsp vanilla bean paste or the seeds from 1 vanilla bean for a more gourmet touch.
Can I double the recipe?
Yes! This recipe scales beautifully. Just be sure your ice cream maker can handle the increased volume.
Final Thoughts
This coconut milk ice cream is a celebration of simplicity and flavor. It’s creamy, customizable, and so easy to make at home—no fancy ingredients or equipment required. Whether you stick to the base recipe or play with add-ins, you’re in for a refreshing, dairy-free delight that you’ll want to make again and again.